I also had to decide about lining it or finishing the inside. I decided to finish the seams and not line it. It's a preference I think. If I lined it a China silk or a light silk charmeuse would have worked. I also wonder about trying some Chanel like quilting between the two layers to keep that soft cardigan wrap going.
Before cutting I compared the measurements to some ready made items I had. My bust is about 5 inches larger than what the pattern calls for, but my frame is more along the pattern lines. The front pieces seemed about right, so I added 2 inches to each side of the back seam for insurance. In the end I needed about 1" at the widest part of my CB only. I used thread markings for the darts and slash markings.
As you cut note the bias and grain lines. As my fabric was loosely woven I went right to the sewing machine and stay stitched all the edges carefully before doing anything else. The little darts at the front edges add some lovely shaping! We full bust ladies like these a lot! Sew the CB seam. I used a tiny zigzag instead of a straight stitch to give the bias seam better drape. This means you should baste and check before finalizing the seam. If your seam allowance is too wide here the seam will not drape or curve at the small of the back properly.


I fused some 1/4" tape to the slash lines and cut the slashes about 3/4 of the indicated length. Then I sewed the sleeve and underarm seams, backstitching each side of the seam about 1 1/2" at the underarm. Keeping the 2 seams separate helps with the gusset. Press the seams open.
 |
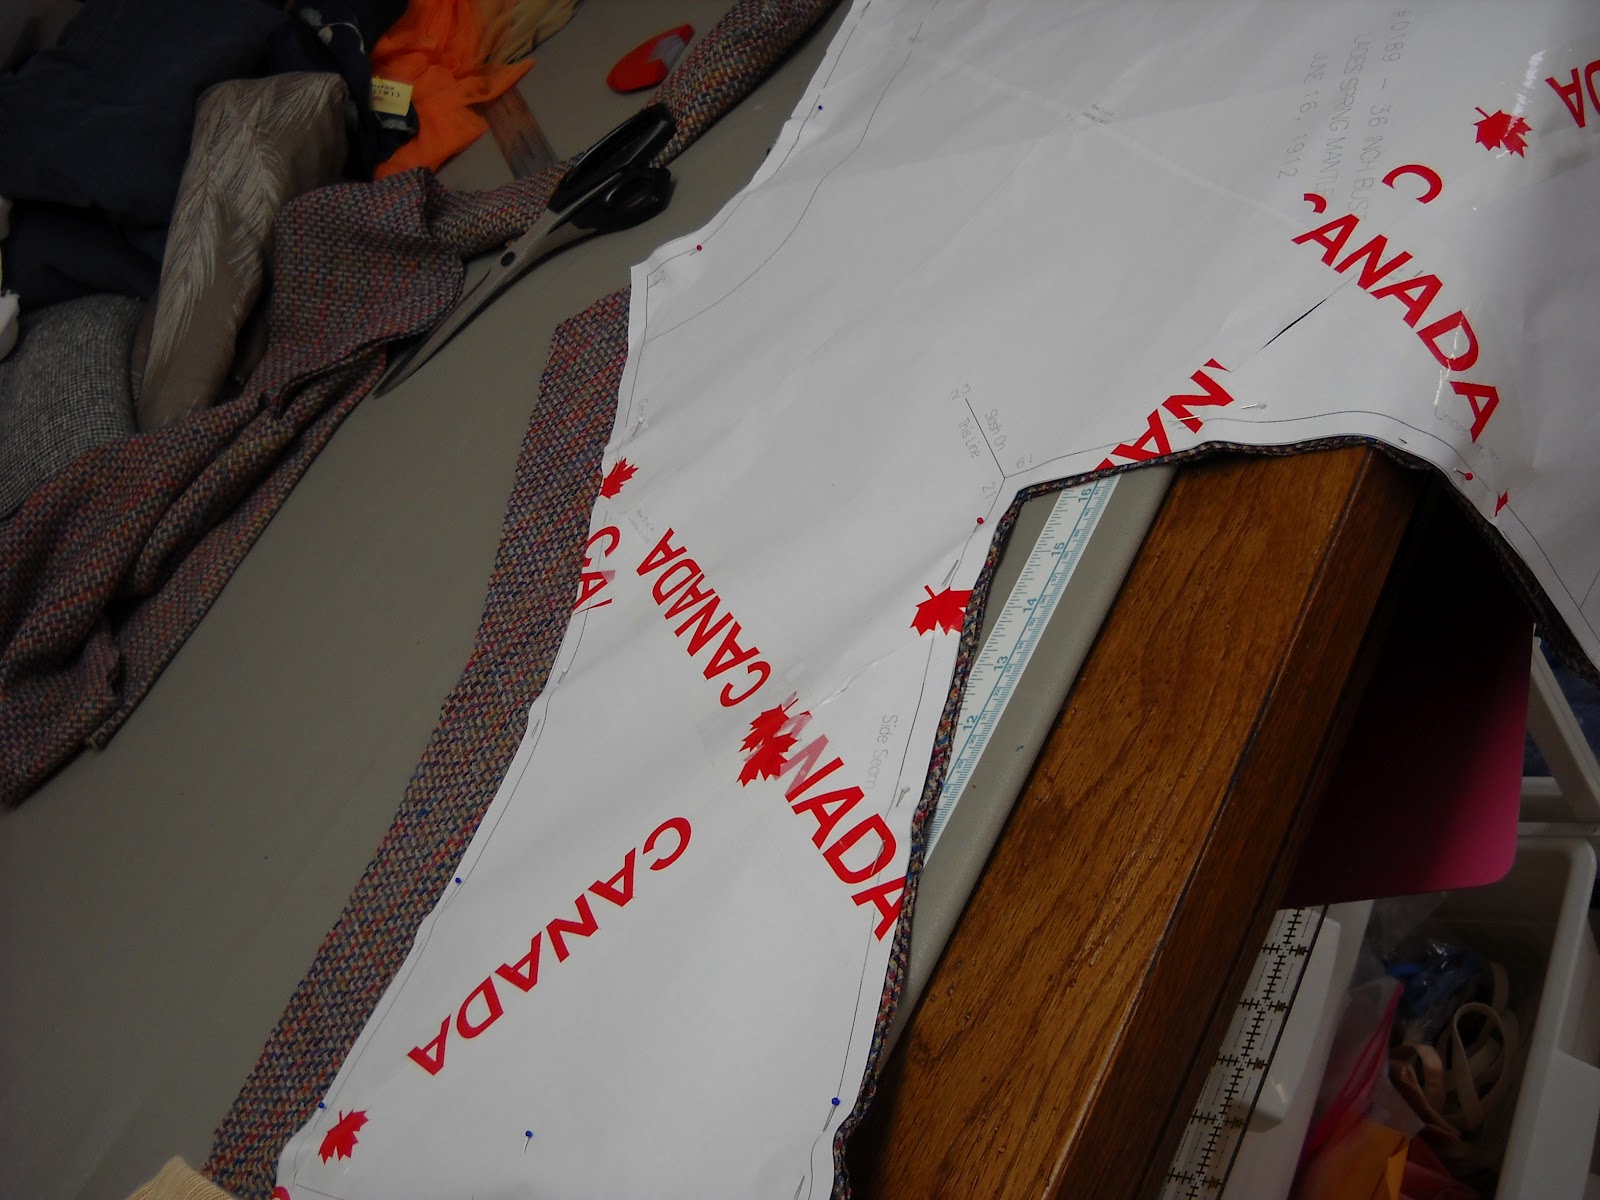
| The 2 red pins are inserted at the pivot points. |
 The gusset needs to be sewn one side at a time. Start at the side seam and pin carefully. You want to match the imagined seam pivot point of the gusset to the imagined seam pivot point at the underarm. Place a pin at the stop pivot point on the gusset. You will need to curve the gusset a bit to the pivot point at the centre of the slash. You never actually turn at the pivot point. Each side is sewn to that point.
Sew the first side. Then start pinning the second side at the slash pivot point. Here is where you get to finish the clipping as required. You get a perfect fit this way, eh? Pin to the side seam, again placing a pin through the pivot point carefully. Sew the second seam. Now you will find that you need to clip the underarm sleeve allowance for a perfect pivot, just as you did at the end of the slash. The other two sides follow the same sort of procedure.
Press and finish the seams now. If you are using a lining, create the lining in the same manner and baste it to the outer fabric at all edges (wrong sides together).
 Now for the joy of the banding! I looked at the illustration and got out my ruffler. That clunky old thing is just the thing I think. You could gather both edges, but I think I tiny pleating looks more like the illustration, and rufflers were around then. Some of mine were, for sure. I cut fabric 3" wide and joined strips together. I pressed it to give the edges a flattening. Then I ran both edges through my ruffler. I'm sure you don't want to hear about my ruffler follies. There were many. After I broke one ruffler on my Pfaff, couldn't get my Kenmore to cooperate - I switched to my Singer treadle and found success. This just reminds me that I had planned to use my era correct treadle in the first place. Watch your needles, though. The ruffler knocks everything around and they keep falling out or breaking. I set the ruffler to 1 pleat per 6 stitches and a short stitch length. If you don't have one of these beasts, get one. When they work, they do a wonderful job! You just need a bit of patience to get them going in the right direction. Try to get the stitch line straight and just outside the fold over line for the trim width - about 2". This makes it easier to turn the edges under and keep the pleats under control.
Sew the trim to the edge of the mantle and sleeves - right side of trim to wrong side of mantle. Be careful. You don't want to stretch the edges and lose that nice front shaping. I did. It will flip to the front nicely. Understitch the trim and flip it to the right side. Press the seam open and press it flat carefully at the edge of the garment. Next you need to turn under the trim on the inside edge. I used pins to mark 2" and then turned and pinned it in place. You may have to clip through some of the pleats to make curves lie flat or pin other pleats closer together. I choose to hand stitch that edge to the mantle. You could edge stitch but I don't think the look would be right.


 |
| If you have ruffler stitching where it shows, you need to pick it out. |
So here is the final product. You can see that the trim is too heavy. However, I love it! Great alternative to the Chanel jacket, don't you think? I'll be making this again.
So My final checklist for this pattern:
1. Pattern Name Ladies Spring Mantle
2. My Skill Level Advanced
3. Pattern Rating 5 – lovely fit, drape and very versatile
4. Intermediate skill level required – bias seams and gusset insertion
5. Instructions I forgot to print out the instructions and forged ahead without
6. Fit was great - I'm a bit bigger than what was called for, but as it didn't need to close it worked out well
7. I didn’t alter for fit
In a crazed cross of the centuries, I had most success with my Singer treadle but recorded my work on my iPhone, using the Cloud to transfer the photos to my desktop and iPad. Imagine that!


Hello! If you would like a fully developed pattern for this jacket in 3 sizes (Sm/Med/Lrg), with step-by-step instructions in English, you might want to go to my website and follow the link to my eBay store. I've been following VPLL's blog on this project now and then over the past few months and I think many participants might have been unaware that there is someone else in North America producing patterns from La Mode Illustrée sources that would make their work easier. Take a look at my website (thefashionarchaeologist.org) and click the link to my eBay store to see my "Edwardian Rose" Titanic-era patterns -- more coming soon!! Also check my "Me" page on eBay for details on my background. Cheers!
ReplyDelete